Webhooks
This guide is for setting up Webhooks to receive data from Shopmonkey.
If you are migrating from V1 and you use Webhooks, please visit our V1 Migration Guide.
Why use Webhooks
Webhooks are a powerful way to receive updates about events that occur in Shopmonkey. Webhooks allow you to automate responses to specific events without the need for continuous polling. This document will guide you through setting up and using webhooks effectively.
To enable webhook events, you need to register webhook endpoints. After registration, Shopmonkey will push real-time event data to your webhook endpoint when events happen in your Shopmonkey account. Shopmonkey uses HTTPS to send webhook events to your app as a JSON payload that includes an Event object (see below).
Receiving webhook events is useful for receiving asynchronous event notifications such as when a new Order is created.
Events
The Webhook Event is a JSON encoded payload and a set of HTTP headers.
HTTP Headers
The following headers are sent with every webhook:
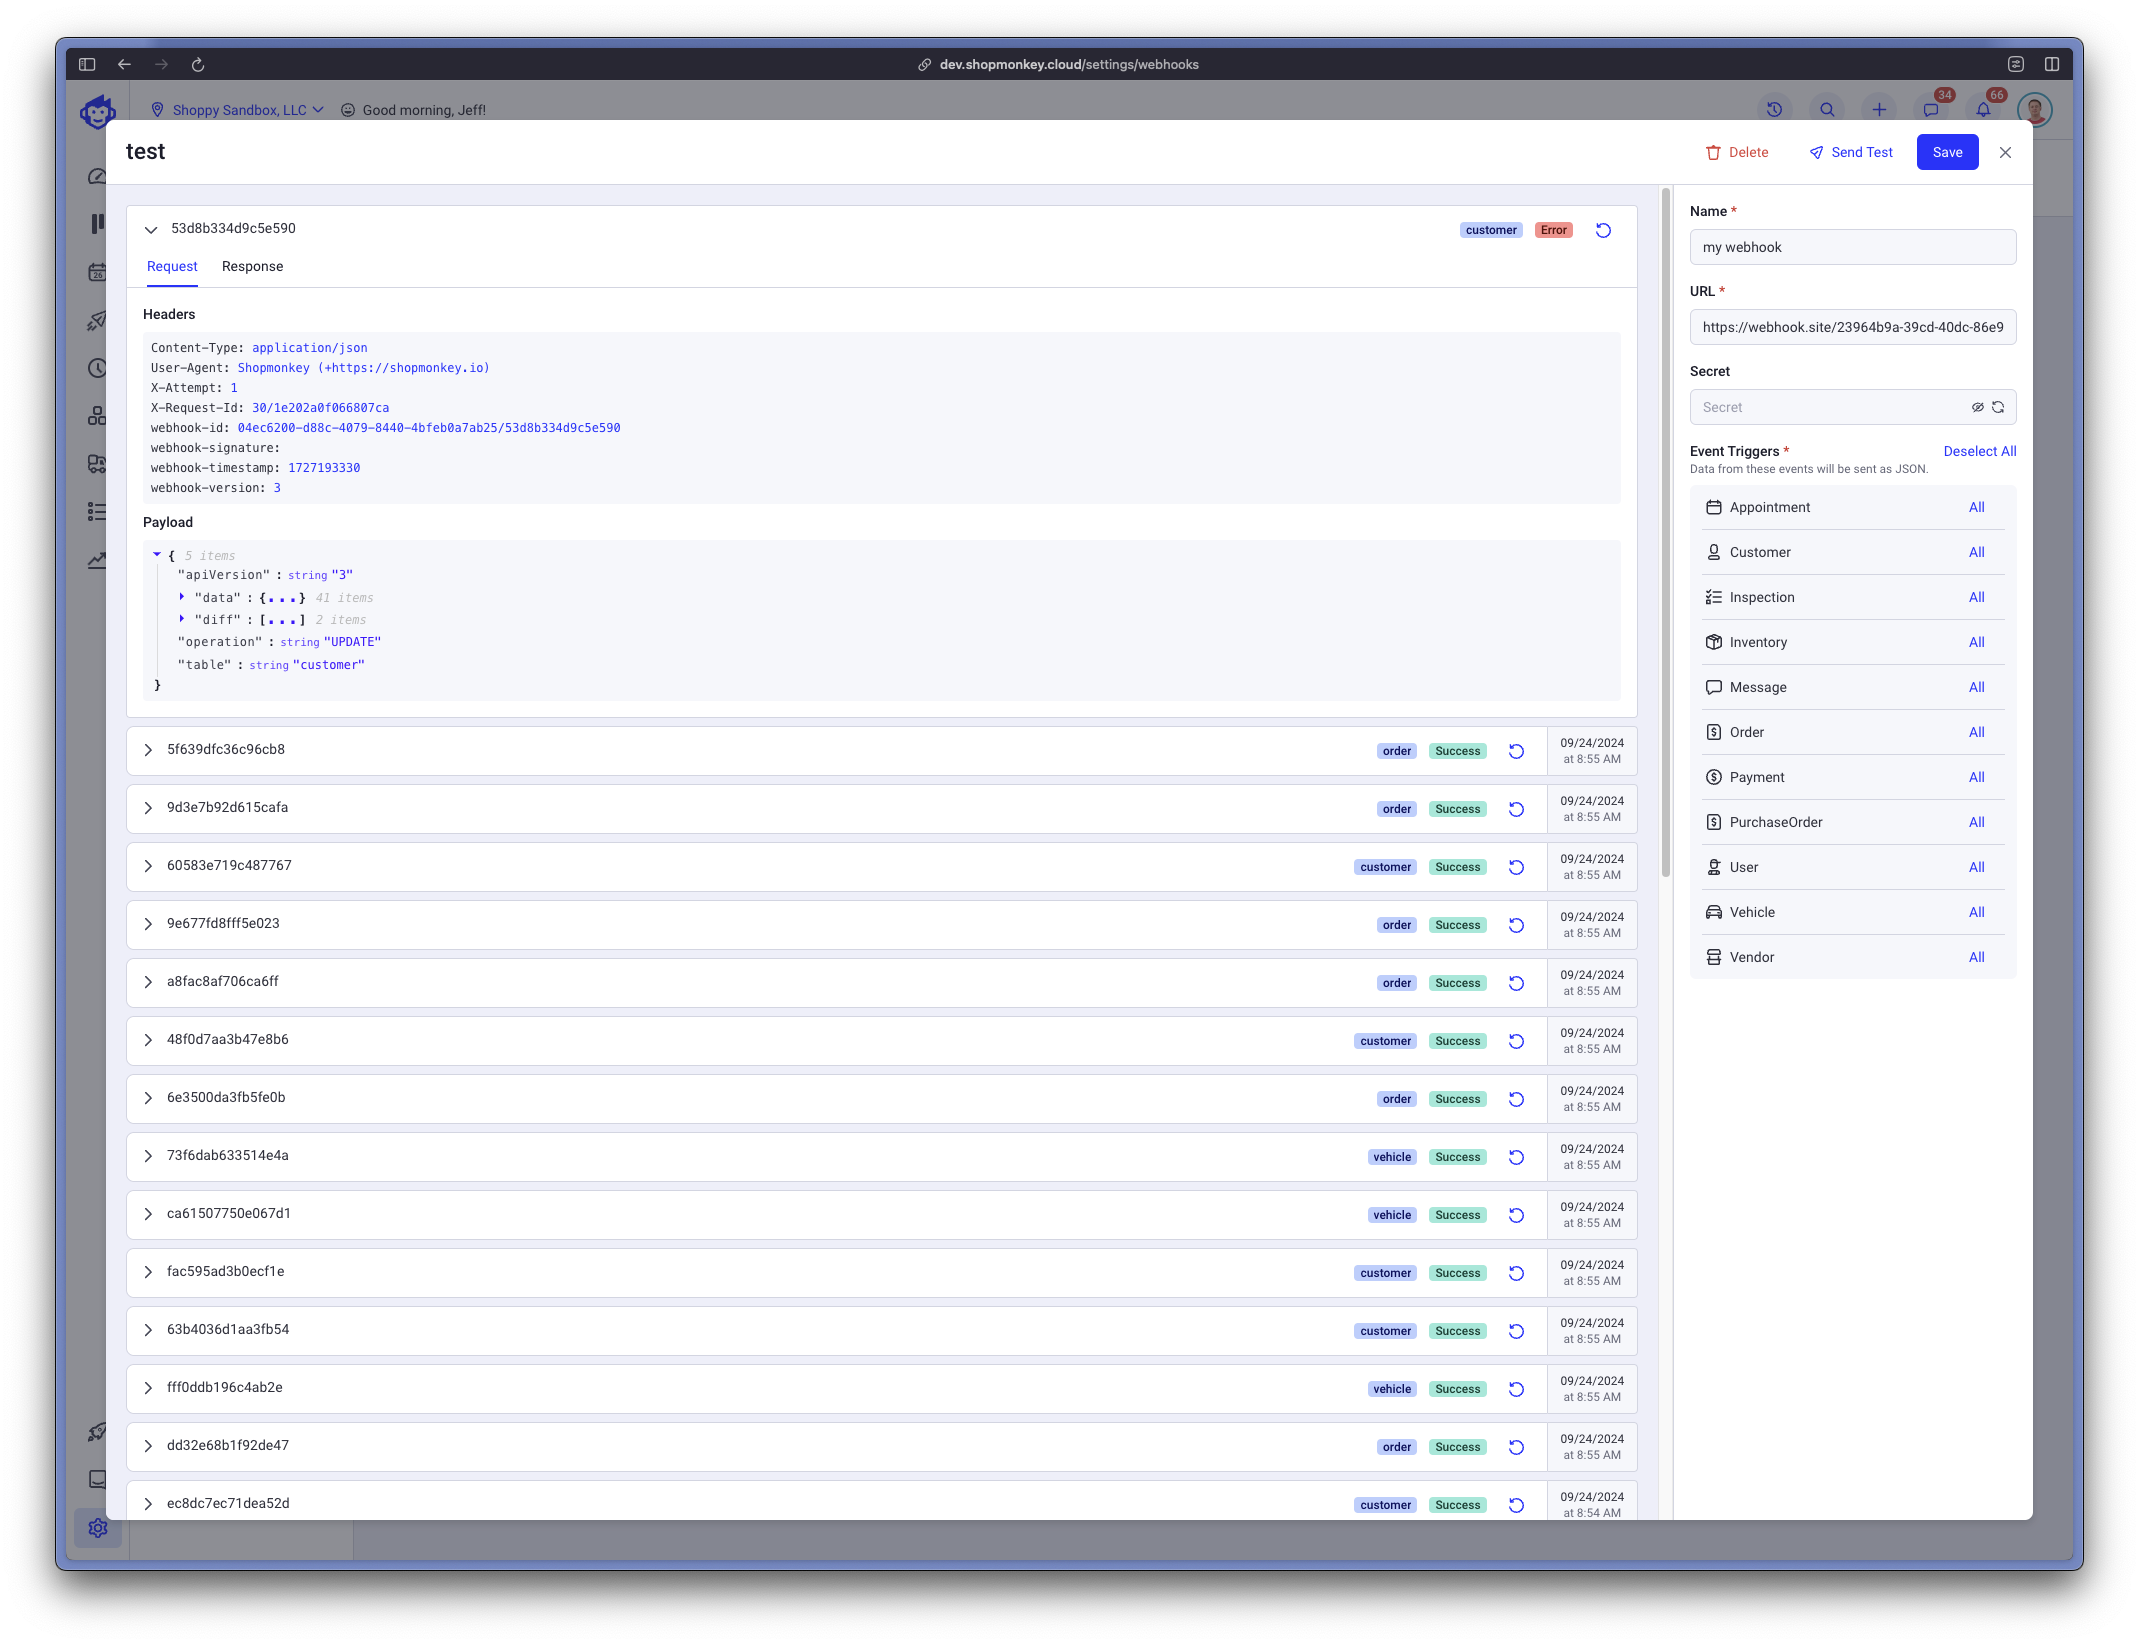
Content-Type: Will always beapplication/jsonUser-Agent: Will always beShopmonkey (+https://shopmonkey.io)X-Attempt: The attempt number (starting at 1) for delivery of this webhookX-Request-Id: A unique identifier for this deliverywebhook-id: A unique identifier for this webhook delivery attemptwebhook-signature: The webhook security signature for this delivery (see Secure your Webhook below)webhook-timestamp: The webhook timestamp in seconds since epochwebhook-version: The Shopmonkey webhook version specification. Currently, will be3.
POST Body
The payload has the following top level JSON properties:
apiVersion: Matches thewebhook-versionHTTP Header valueoperation: Will be one of:INSERT,UPDATEorDELETEtable: Will be the table name (snake case) that triggered the webhookdata: The payload of the objectdiff: Only available inUPDATEoperations. An array of strings which indicate the changes at the top-level object that triggered the update
All Webhooks will be sent as an HTTP POST.
HTTP responses status codes should be one of the following:
After a certain number of redelivery failures, the Event will be marked failed and your Webhook will be temporarily disabled. Once your API endpoint issue is resolved, you can manually re-enable your webhook in the Shopmonkey Webhook settings.
Make sure you monitor your API endpoint. If your webhook becomes disabled, events will not be redelivered automatically when re-enabled. You will need to re-deliver them manually in the UI.
Event Types
In the Shopmonkey system, certain objects are normalized into multiple tables. To make it easier to generalize which Events you can subscribe to, we have aggregated them together for definition, however, you will receive different events based on different internal tables. In this documentation, we use the term table and object interchangeably.
The following events are supported:
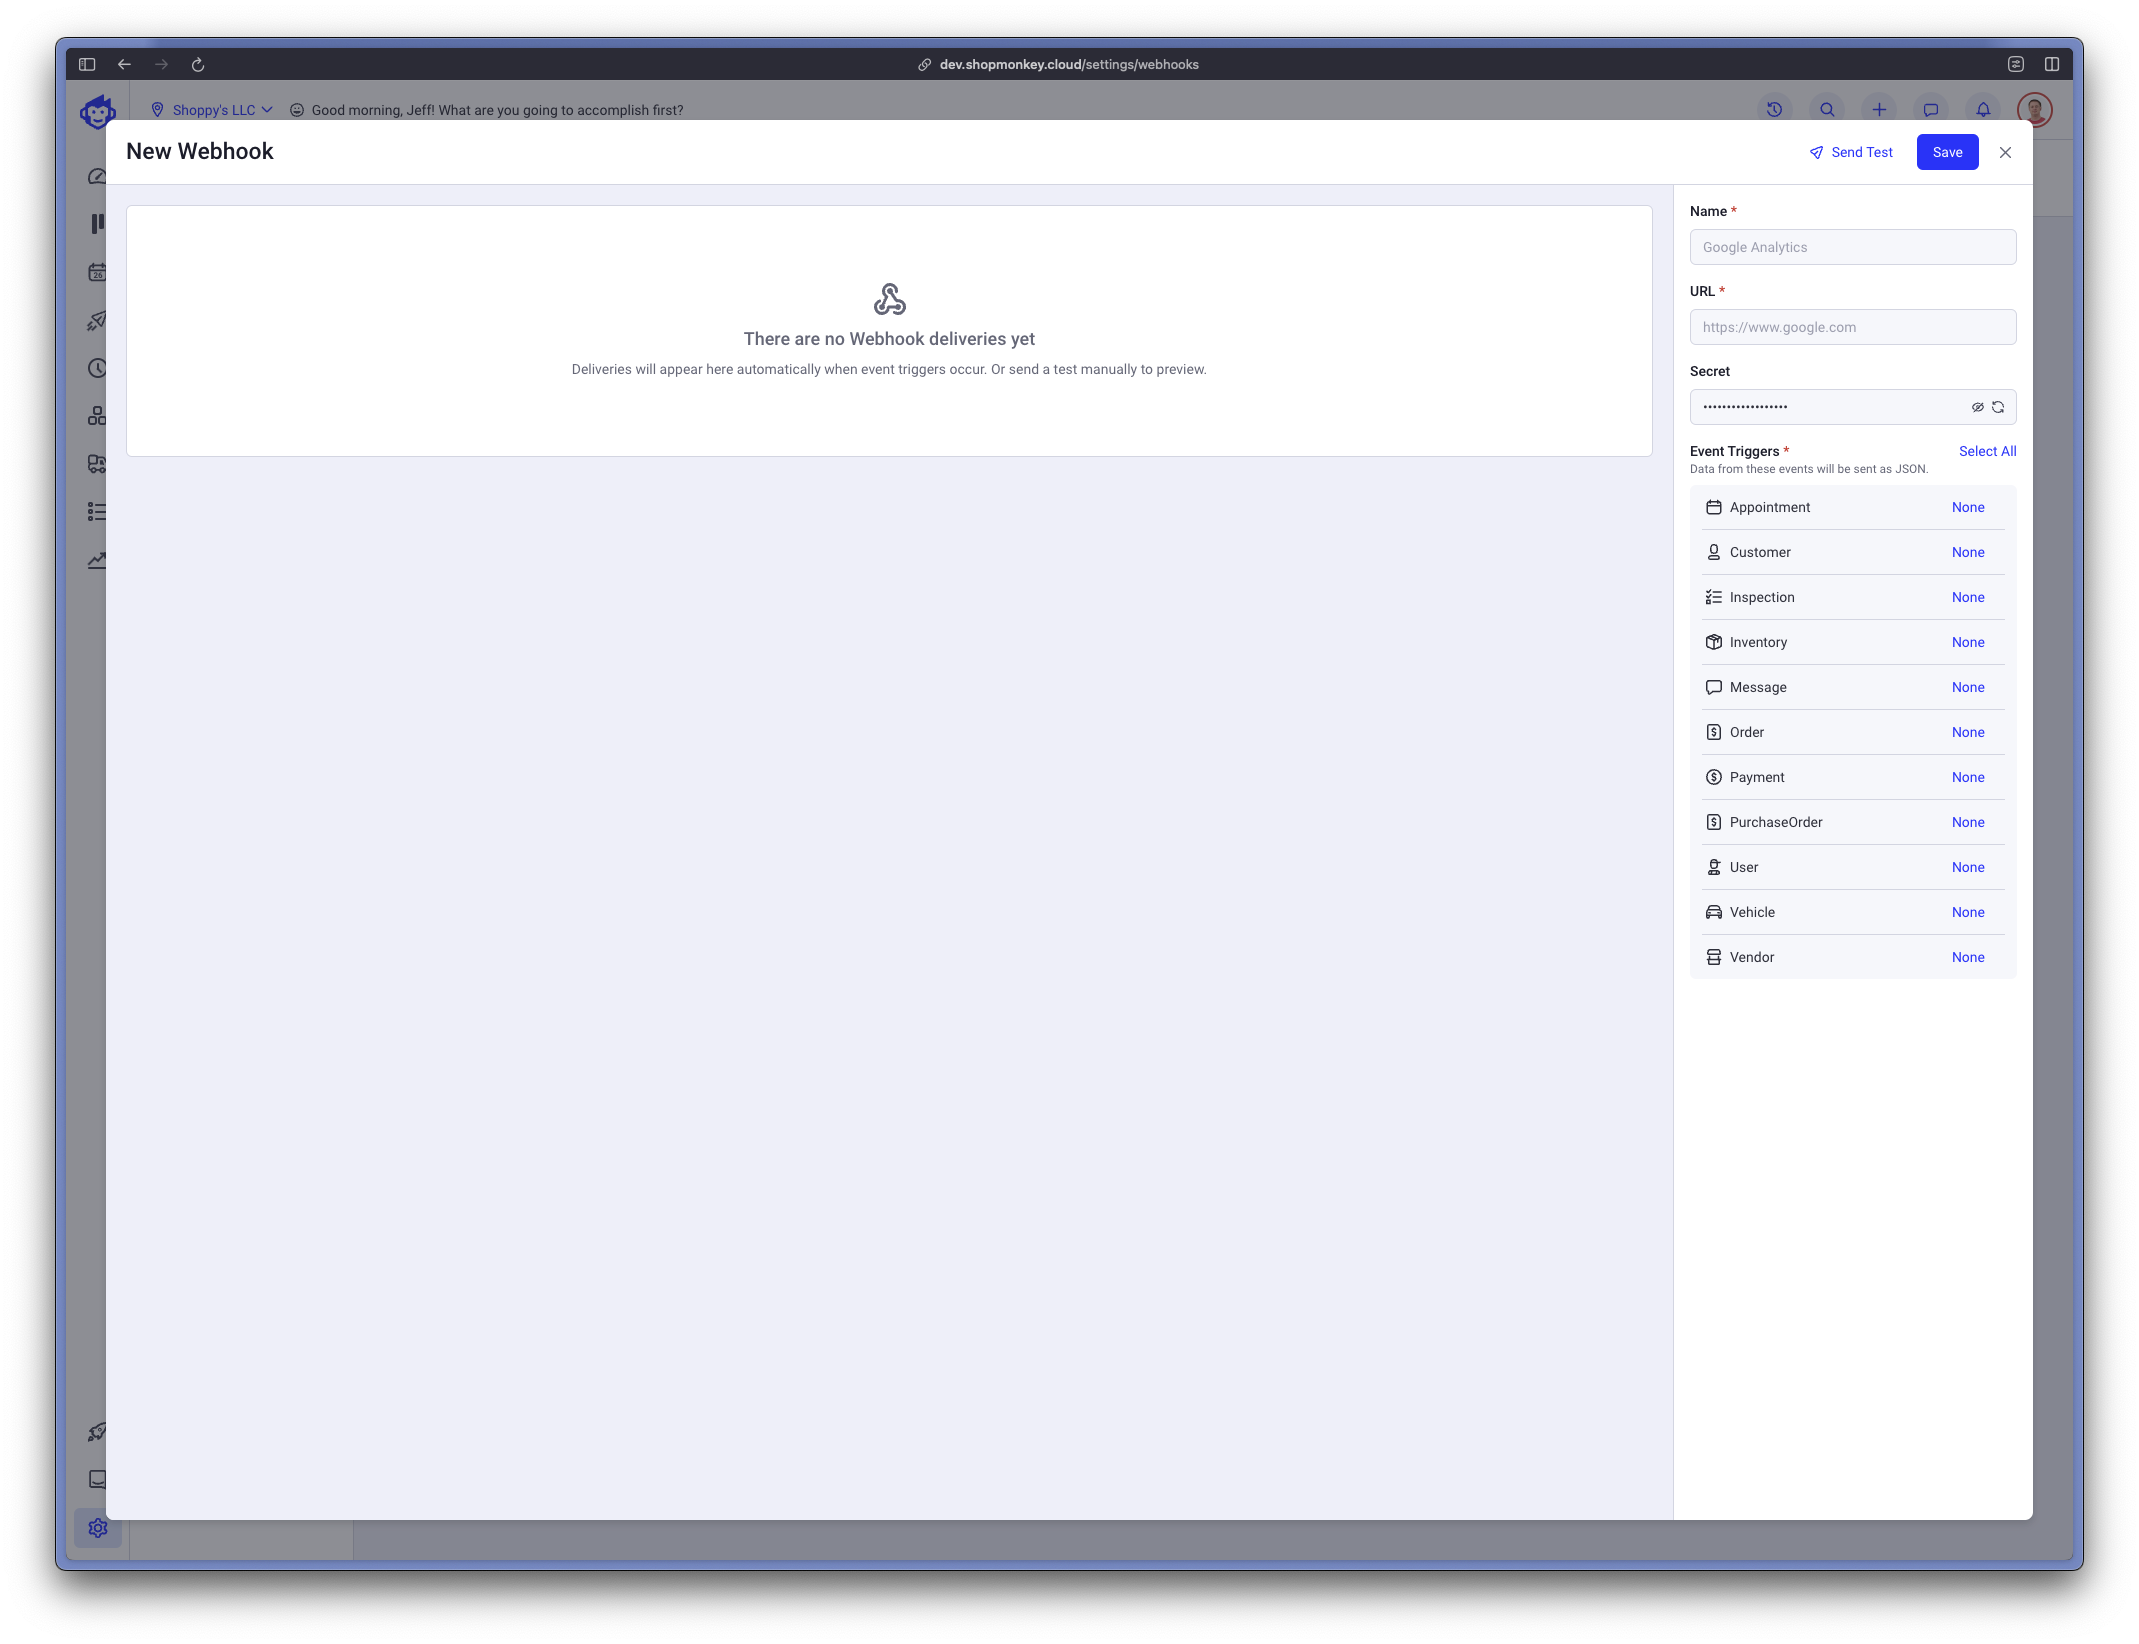
Appointment: Events for the appointment object.Customer: Events for the customer object.Inspection: Events for the inspection object.Inventory: Events for the inventory_fee, inventory_labor, inventory_part, inventory_tire objects.Message: Events for the message object.Order: Events for the order object.Payment: Events for the payment object.PurchaseOrder: Events for the purchase_order object.User: Events for the user object.Vehicle: Events for the vehicle object.Vendor: Events for the vendor object.
Get Started
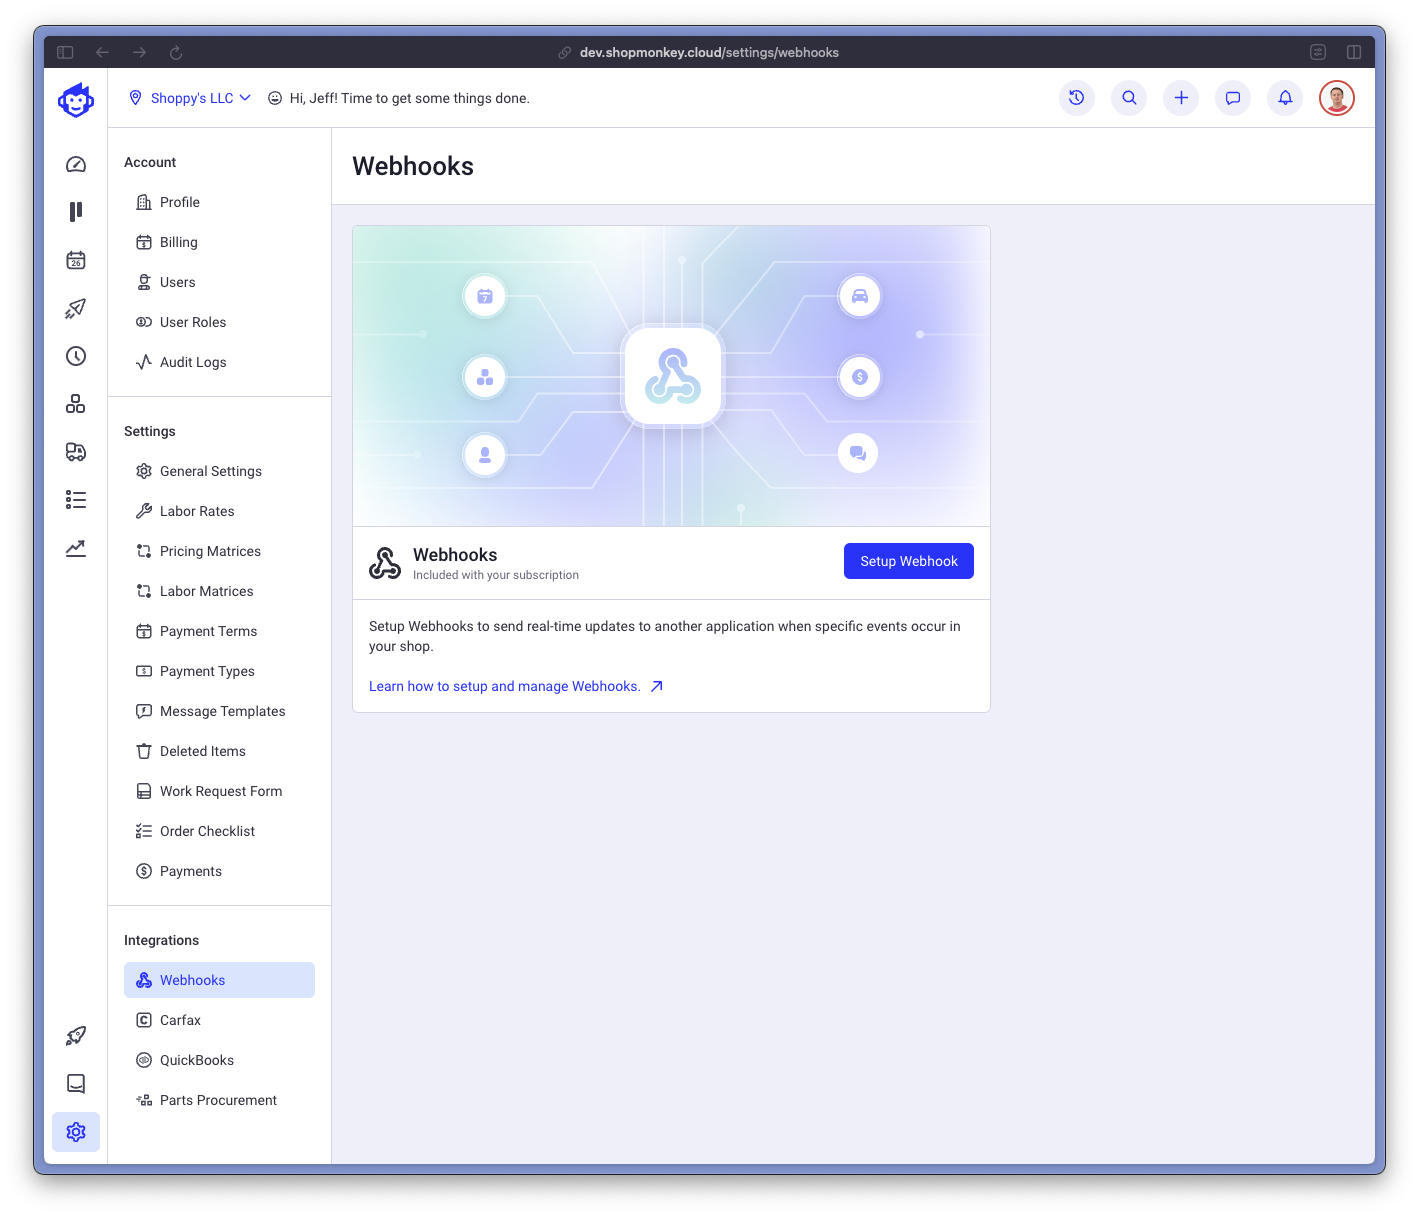
To get started, navigate to the Webhooks section inside Settings. You must have permission to view the Settings to get access to Webhooks.

Give your webhook a name, enter your endpoint API url and select one or more events for delivery.

Once you have deliveries, you will see them in the application:

Testing your Webhook
For testing, we recommend one of the following services to test webhook delivery payloads:
Secure your Webhook
We use the Webhook Standard specification for Webhook security.
To verify the authenticity of webhooks delivered by Shopmoneky we use an HMAC signature with pre-shared secret key which is only known to you and Shopmonkey (and configurable by you per configured Webhook).
Signature scheme
We sign the webhook payload POST body, webhook-id HTTP header and the webhook-timestamp HTTP header together as a concatenated string in the format: HMAC256(msgId.timestamp.payload,secret).
For example, if the msgId was 1234 and the timestamp was 1609459200 and the body was body, you would concatenate as follows: 1234.1609459200.body and use that as the input to the HMAC256 hashing algorithm along with the shared secret.
We set the HTTP header webhook-signature to the format: v1,signed where signed is the value from the HMAC in base64 encoded string.
If you rotate your secret, we will include all your previous keys up to 30 days after rotatation as space separated signatures.
For example: v1,Xxaz73AZiDcuUod3JbYZgy0yoinN16Vv/84NVgsWpvE= v1,T0rreKeTl3LzQ6MN1af1D611lg/05WnPUcKC6J3fBqc= would contain 2 signatures for 2 different secrets.
After the secret rotation has expired, we will no longer send this secret. This affords you the opportunity to continue validating old signatures for a period of time will migrating your API endpoint.
Validation
You should re-compute the HMAC signature by combining the strings your receive above from Shopmonkey and comparing the value with the value from the HTTP header webhook-signature. If they do not match, you must discard this webhook and not process it further.
There are a few considerations:
- Use a constant time comparison function to compare the calculated with the expected signature. Failing to do so can expose you to timing-attacks and turn them into signing oracles.
- Make sure to verify the
webhook-timestampHTTP header has a timestamp that is within some allowable tolerance of the current timestamp to prevent replay attacks. - Use the
webhook-idHTTP header as an idempotency key to prevent accidentally processing the same webhook more than once (e.g. save the IDs in redis for 5 minutes).
Best Practices
The following are some suggested best practices for working with Webhooks:
- Timeouts: Ensure your API endpoint responds quickly. If processing takes time, acknowledge receipt of the webhook and handle processing asynchronously. We will cancel the Webhook delivery if your API endpoint takes longer than 55 seconds to respond.
- Retries & Duplicates: We will retry sending the webhook in case of a failure. Implement idempotency in your handling logic to prevent duplicate processing of the same event.
- Minimize Events: Configure your webhook endpoints to receive only the types of events required by your integration. Listening for extra events (or all events) puts undue strain on your server and ours and we don't recommend it.
- Rotate Shared Key: Rotate your shared secret periodically.
- Keep Shared Key Private: Your shared secret is like a password. Make sure your store it securely and do not hard code this value in your code.
- Validate Webhooks: A replay attack is when an attacker intercepts a valid payload and its signature, then re-transmits them. To mitigate such attacks, Shopmonkey includes a timestamp in the
webhook-signatureHTTP header. Because this timestamp is part of the signed payload, it's also verified by the signature, so an attacker can't change the timestamp without invalidating the signature. If the signature is valid but the timestamp is too old, you can have your application reject the payload.